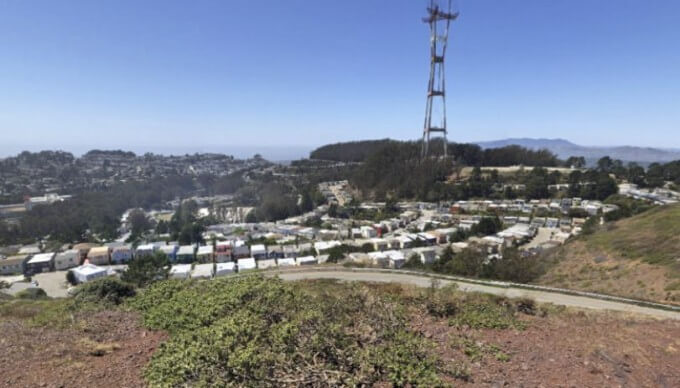
The summer of 2015 found the Tamate Landscaping crew in the Midtown Terrace neighborhood. Like much of San Francisco, Midtown Terrace is built on rolling hills. –And while rolling hills make for beautiful landscape, they also make it hard for homeowners.
Falling retaining walls and sliding ground is often the culprit, but this time it was lack of drainage. The client had big concerns about water intruding into the home, thanks to the predicted El Niño.
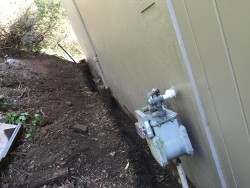
The hillside butts right up against her house, and showed no evidence of a drainage system being installed during the home’s construction. Water marks were already noticeable in the garage foundation; if left unchecked water could start to cause dry rot. Dry rot, in turn, would continue to weep up the walls and cause very expensive damage.
We recommended a French drain, tied into the municipal drain system. With French drains, a trench is dug, and then filled with something (loose gravel, for instance) that helps vent the water before it seeps into the home. By tying it into the drain system, we would reduce the possibility of it seeping in elsewhere – basically wicking the water away from the home entirely.
The real challenge of this three-day project was excavating the rocky land. We needed to dig a 4’ foot (or deeper) ditch, which is a lot of work. The ditch had to be below the concrete slab of the basement. Otherwise, water could still gather at the base of the slab and weep into it due to concrete being porous.
Because of how rocky and compacted the soil was, we had to use jack hammers. We trenched down 5’ at the deepest level, to get below the concrete slab, and then discarded the removed soil.
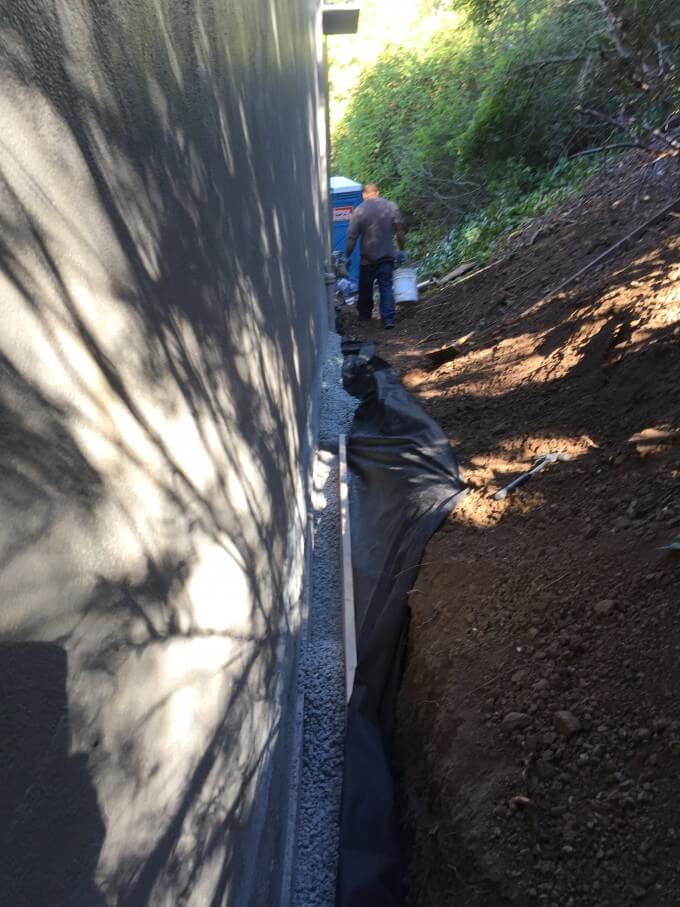
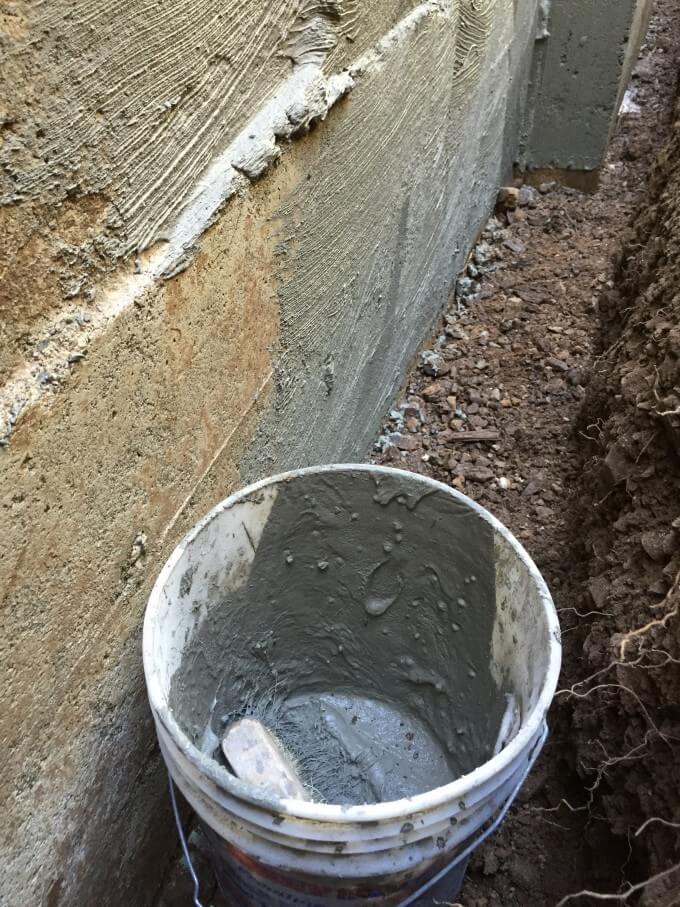
Once the excavation work is done, the next order of business is to prepare the concrete for the drain (Top image). As mentioned before, concrete is inherently porous and excessive water will penetrate, eventually seeping out the other side. A seal is added to prevent that from happening (Bottom Image).
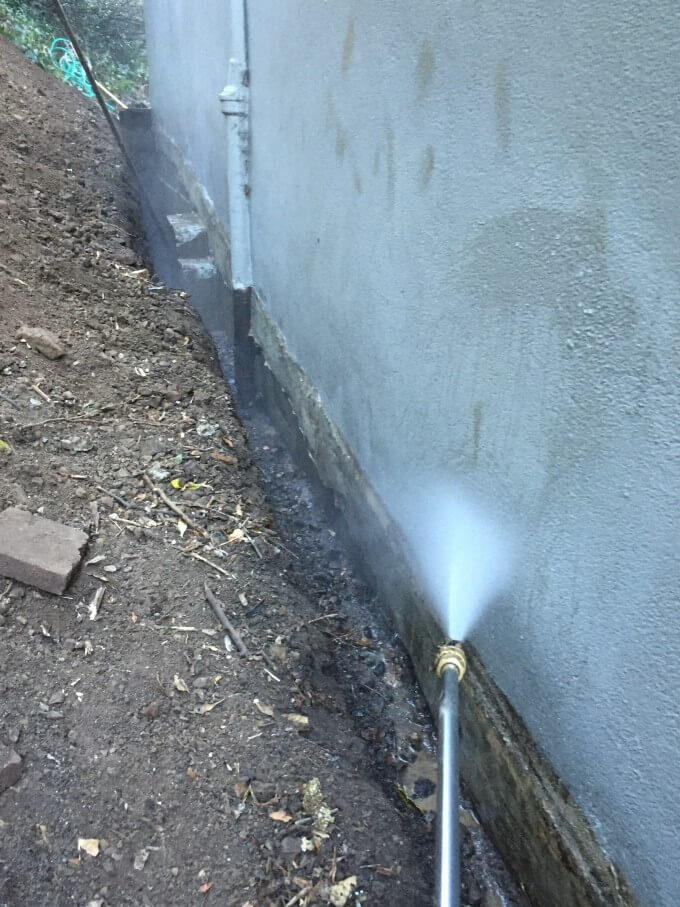
However, before we could seal the exterior of the concrete, we had to make sure the concrete was clean. We used a high power washer to clean the concrete from any foreign material that would keep the sealant from bonding.
The sealant we used is a product called TamoSeal. We’ve been using it for 30 years, and we love it. TamoSeal is a Portland-based product that we often use in our pond construction jobs. It seals up all the pores, making the concreate water tight. It’s the extra protection this project needed.
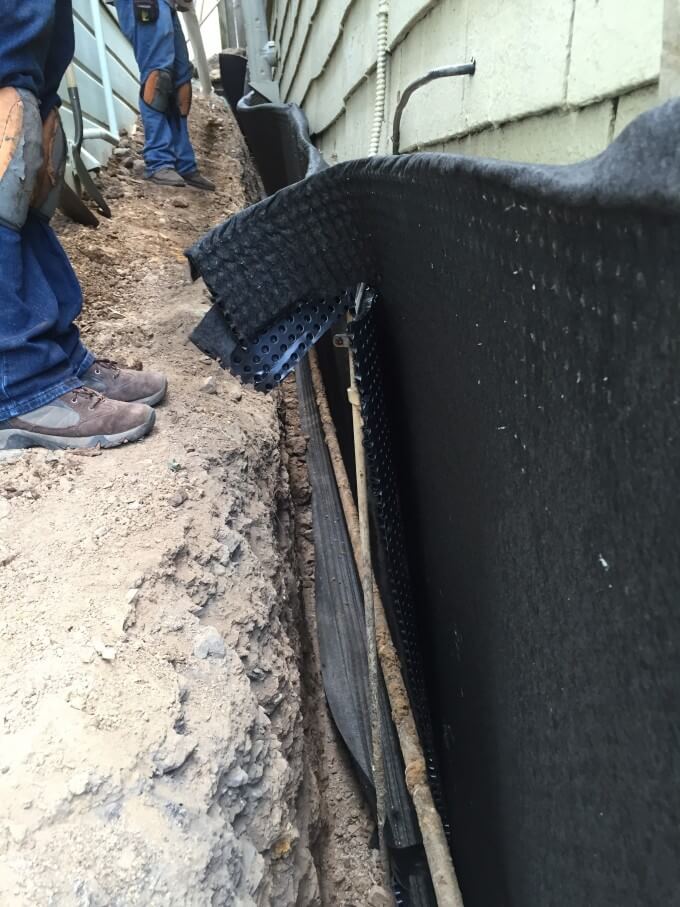
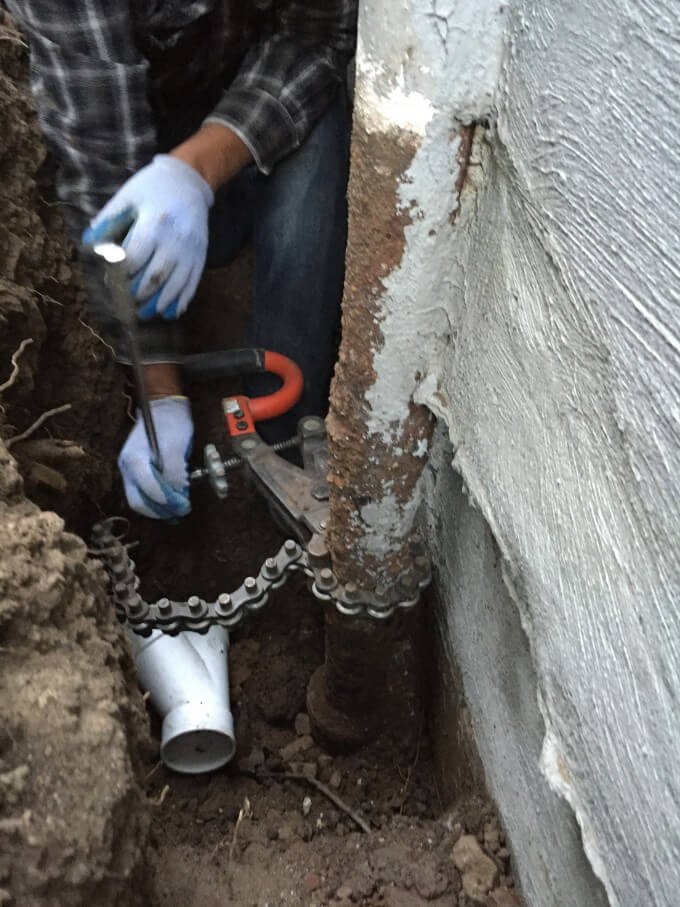
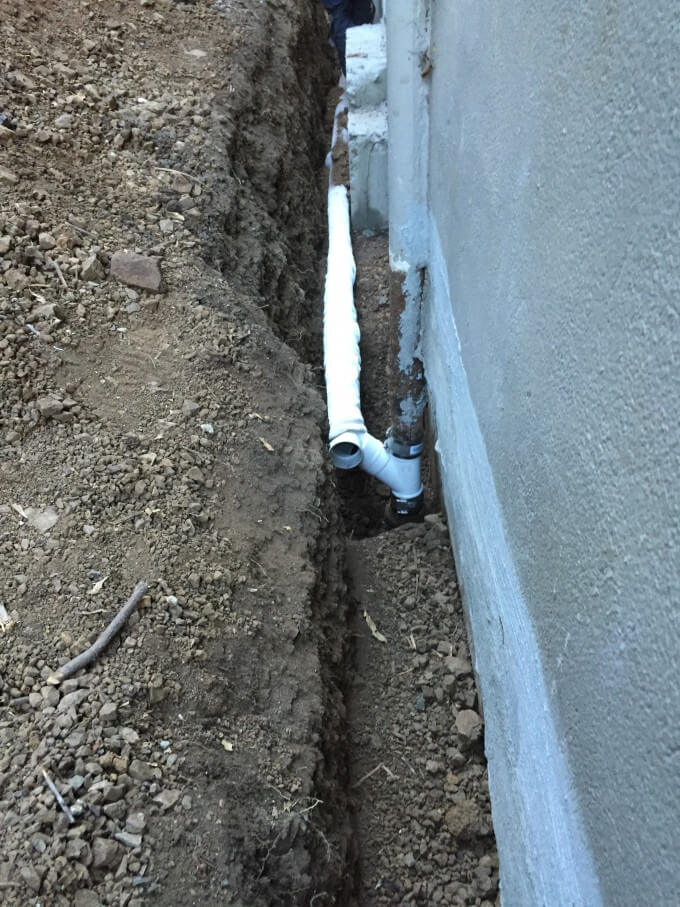
Once the sealant was dry, we used a snap cutter to cut the old cast iron pipe leading to the municipal system. Since seeping water can carry dirt and debris into the drain pain, causing it to clog, the 3” perforated drain pipe we installed was wrapped in a fabric sleeve to help keep it clean. The last thing we want is to have to dig the trench back out because of a clogged pipe. We connected it to the municipal drain and then began the fill process.
The final step is to backfill the entire trench with tons of ¾” drain rock. Water follows the path of least resistance, and drain rock makes it easier for the water to get into the perforated pipe.
As an added layer of protection, we placed another black fabric barrier between the earth and the drain rock. This will ensure that the adjacent earth doesn’t slowly migrate into the French drain, which would eventually reduce its effectiveness.
All in all, it was a quick job; the hardest part was the digging. Even in our world of mechanical wonders, sometimes the best tool is manual labor!